
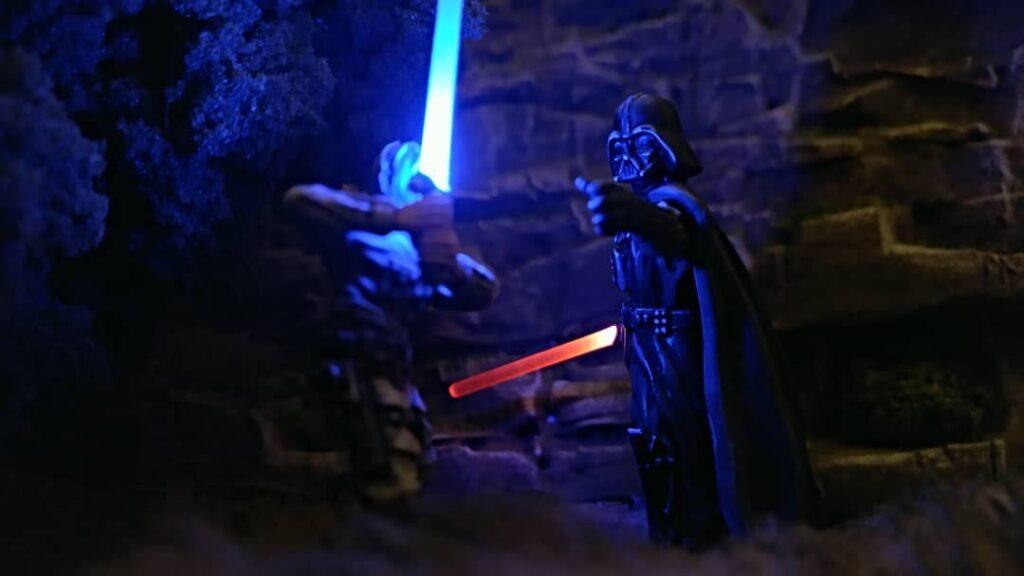
In this tutorial I will show you how I did a LED saber modification on the Luke Skywalker miniature – as I did on serveral other miniatures. I recommend you to use conductive silver lacquer – that is a conductive “paint” from the electrical/model construction sector. The stuff costs a fortune, but makes the “wiring” easier.
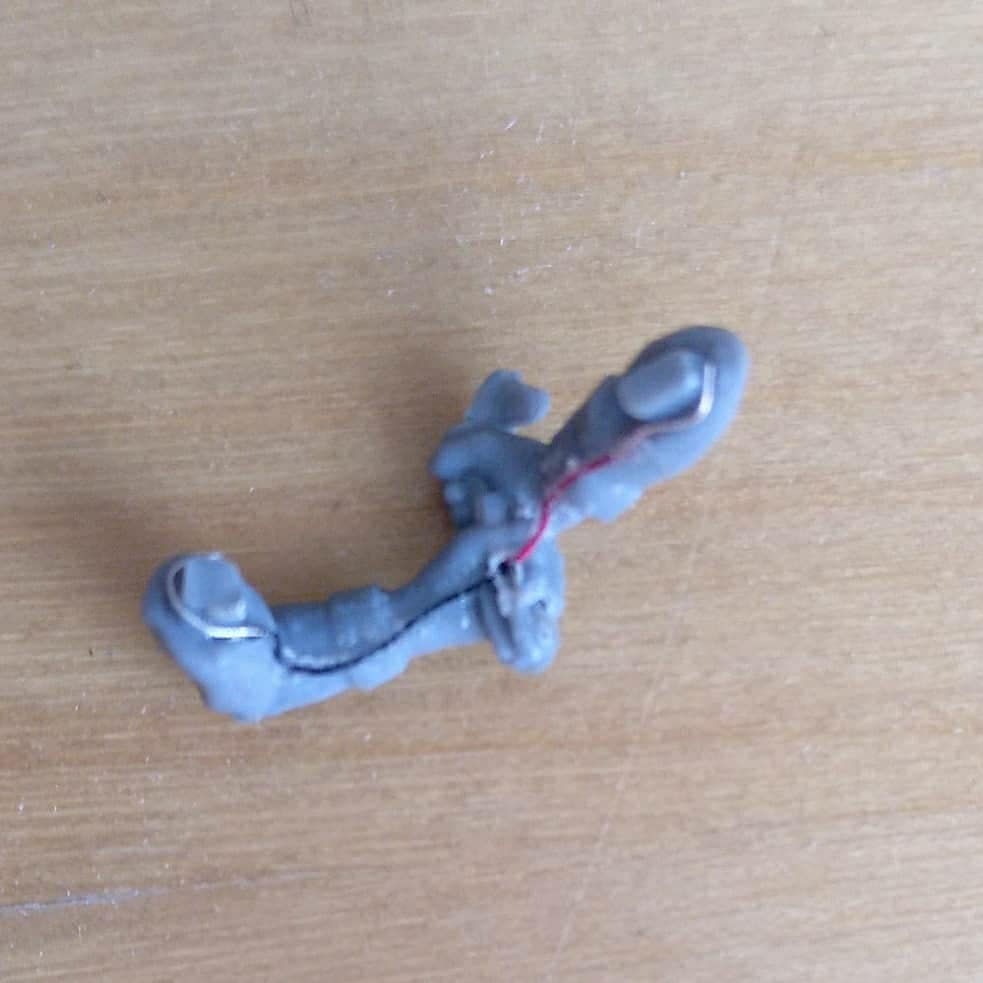
As a start I cut the blade of Lukes lightsaber and drilled a 1.5mm hole into the lightsaber grip, and a 0.5mm hole on the back of the sword grip. The cables run out here and along the arms to the elbows. There I stripped the copper paint cables and put them around the existing pins for attaching the arms.
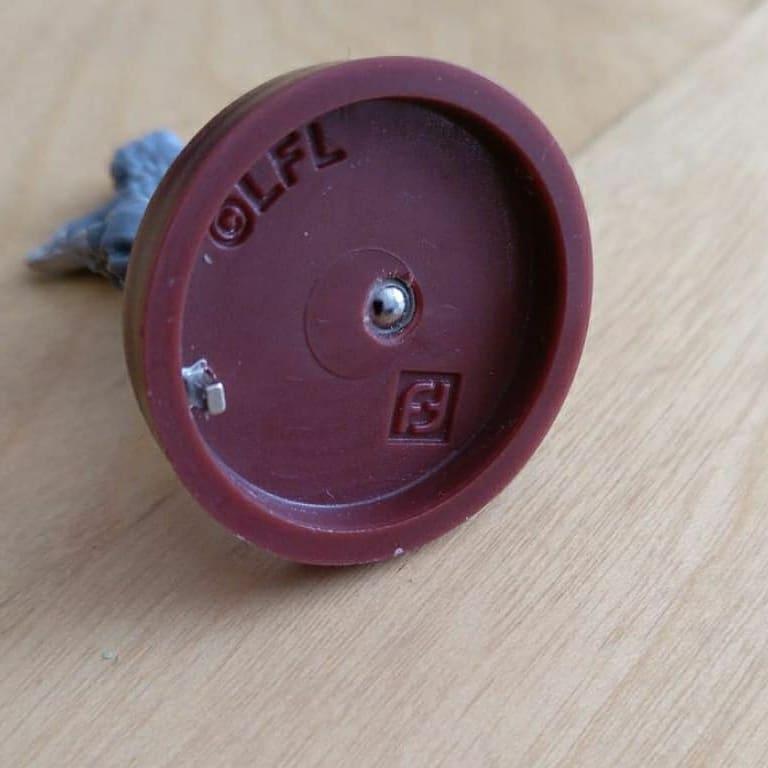
I also drilled two holes into the base and put in two neodymium magnets.
Then I glued Luke’s body with superglue on the base and painted with the conductive silver lacquer two lines from the magnets to the respective elbow holes. Then I assembled Luke completely and glued them together carefully. It is important to ensure that the adhesive does not interrupt the contact between the arms and the conductive silver lacquer in the elbow holes.

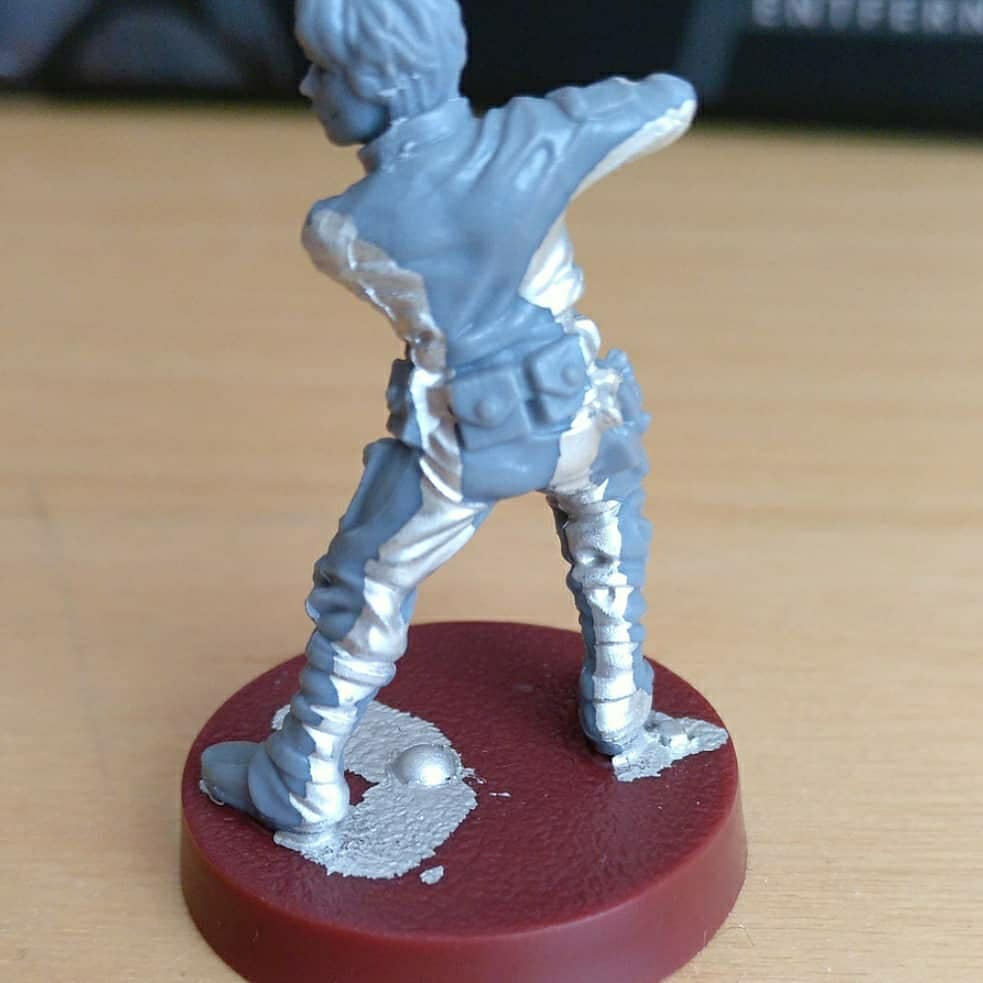
Some little work with Greenstuff and then Luke was done … apart from the painting. A 1.6 mm blue acrylic rod which I bought on eBay US a few years ago, 2 neodymium magnets and a blue SMD LED 70mcd (1.6 x 0.8 x 0.65 mm) were used.
If you use a blue or green SMD LED the use of a resistor would be nice but not necessary. If you use a red SMD LED you should build in a 50 ohm resistor in between the way from one of the magnets to one end of the LED wires.